
Update Information in CA
Step 1: Access the Task
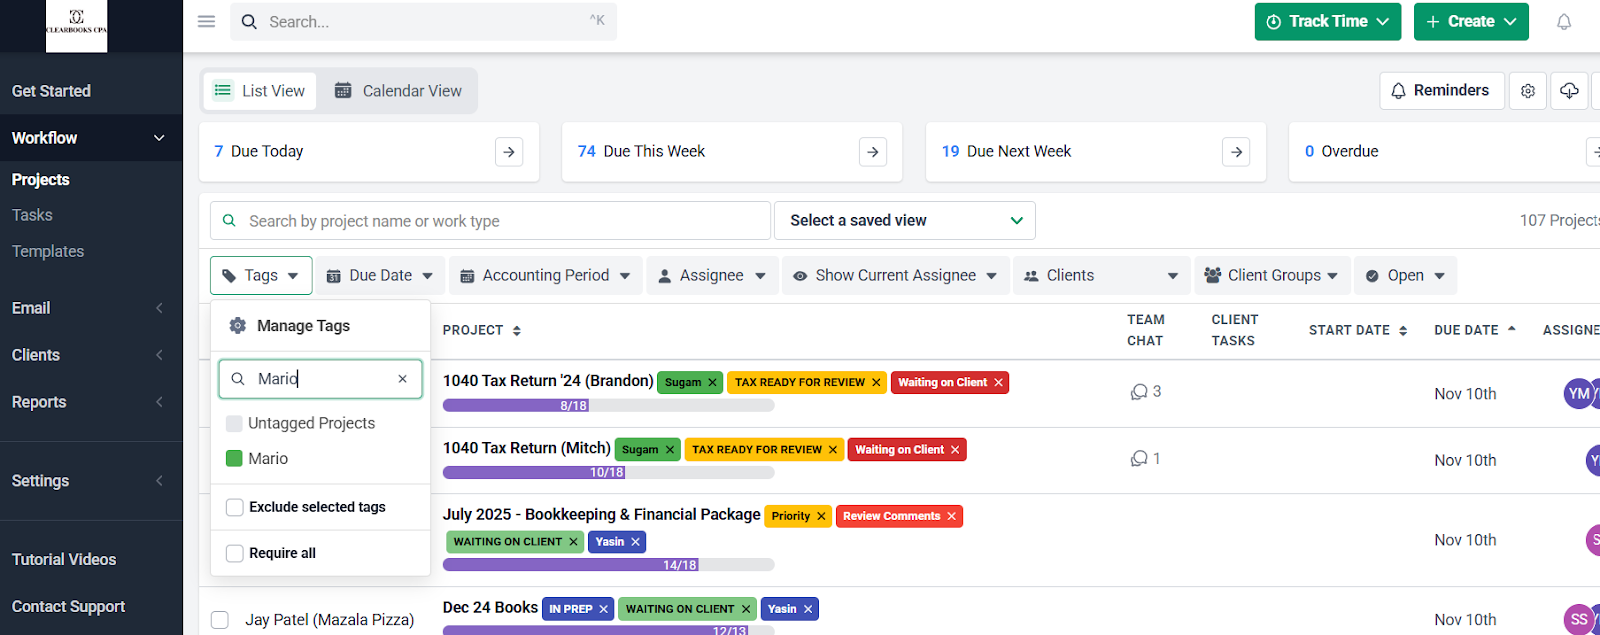
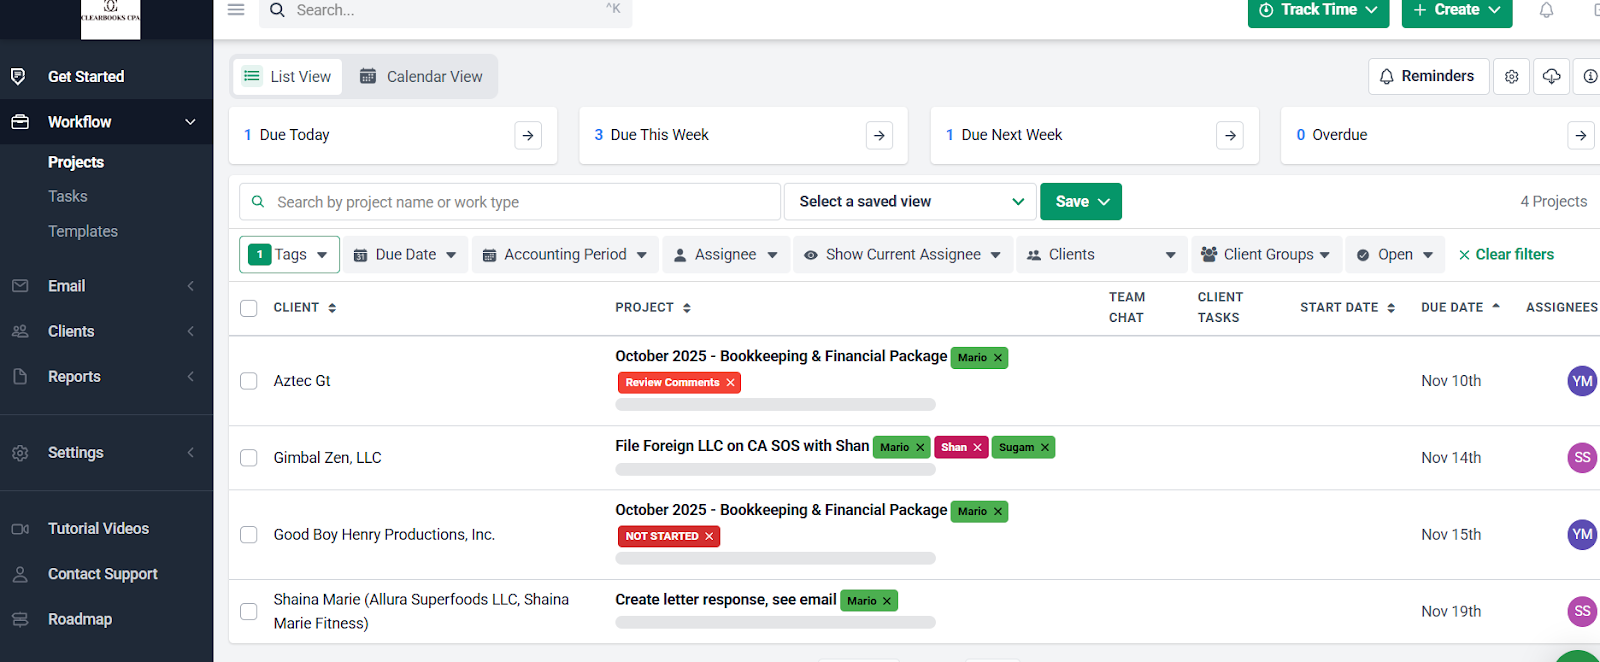
- Go to Financial Cents.
- Click on the Tag (Mario), then open the assigned task.
Google Secretary of State of California
Step 2: Log in to the CA App
- Log in to the CA app through Practice Protect.
Step 3: Search for the Business
- Click on Bizfile Online.
- Select Search, scroll down, and type the client name (as shown in Financial Cents).
- Business Description: Search the company name on Google for the website, or check Financial Cents for details.
Step 4: File the Statement of Information
- Click File Statement of Information.
- Follow the instructions in the emails located in Financial Cents.
- In this case, a change of address and officers was requested.
- Labor judgment: No.
QuickBooks Setup for New Clients
- Add User and Client:
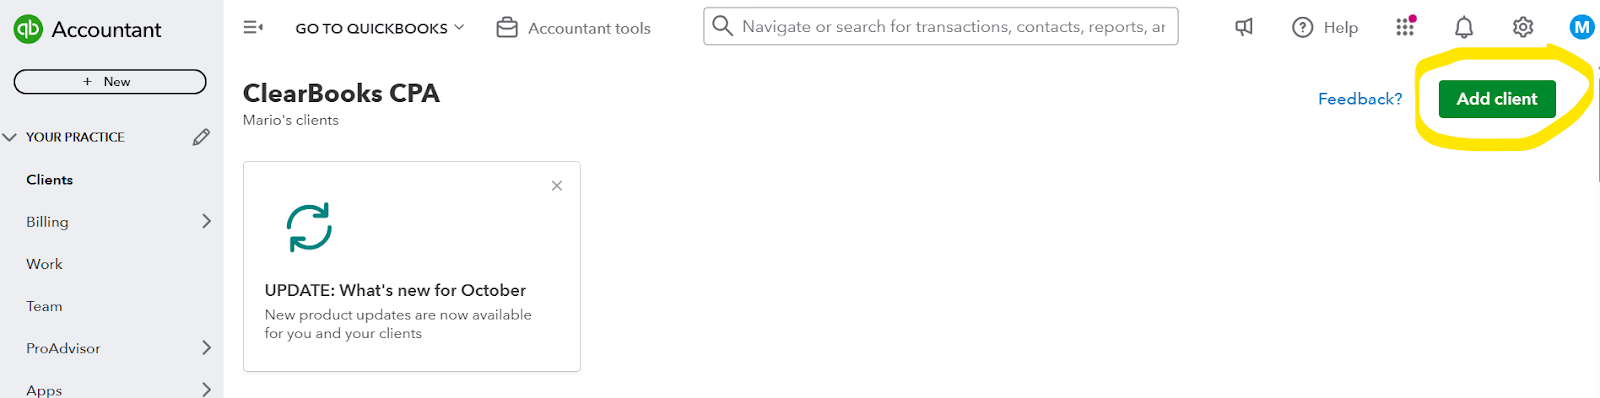
- In QuickBooks, add a new user and create the client profile. Always choose business.
- Fill in the required information using the client’s email.
- Check Sugam’s calendar to find the client’s mobile number if needed.
- Subscription Setup:
- Add subscription. Select Accounting Solutions → Direct Discount → QuickBooks Simple Start (the cheapest plan).
- Click Next, skip Payroll, skip the next part as well.
- Make the client the primary admin, then place the order.
- Finalize:
- Create the QuickBooks user account.
- Apply this process to all new onboarding clients (e.g., Opus).
Communication
- Use the team-core Slack channel to post the email that needs to be sent.
Clients questions Document Location
Step 1: Go to Google Drive
Step 2: On search write client name
Step 3:
Go to 0 Client Uploads
Financial Package Location
Step 1: Go to Google Drive
Step 2: On search write client name
Step 3: Go to 3/management deliverables
Step 4:
Click on current year folder
Minutes Document Location
Step 1: Go to Google Drive
Step 2: On search write client name
Step 3: Go to 1/Minutes
Step 4:
Click on current year folder
Gusto Setup for New Clients
Step 1: Log in on Gusto on Practice Protect
Step 2: Go on Partner Program
Step 3: Fill the clients information (company name, first and last name, email)
Step 4: Choose the default setting, same for Quickbooks for now on
Step 5:
Choose my client will handle their own set up
Minutes Document Draft